


Festival Yee Peng, Tradisi Unik Thailand yang Menerangi Langit Malam
Festival Yee Peng merupakan salah satu tradisi paling ikonik di Thailand yang setiap tahun berhasil menarik perhatian wisatawan dari berbagai…

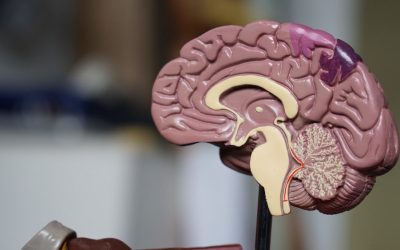
Penyumbatan Otak: Ancaman Tersembunyi yang Mengganggu Aliran Kehidupan dalam Tubuh
Penyumbatan Otak sering muncul tanpa tanda yang jelas pada awalnya, namun kondisi ini perlahan mengganggu fungsi tubuh yang paling vital….

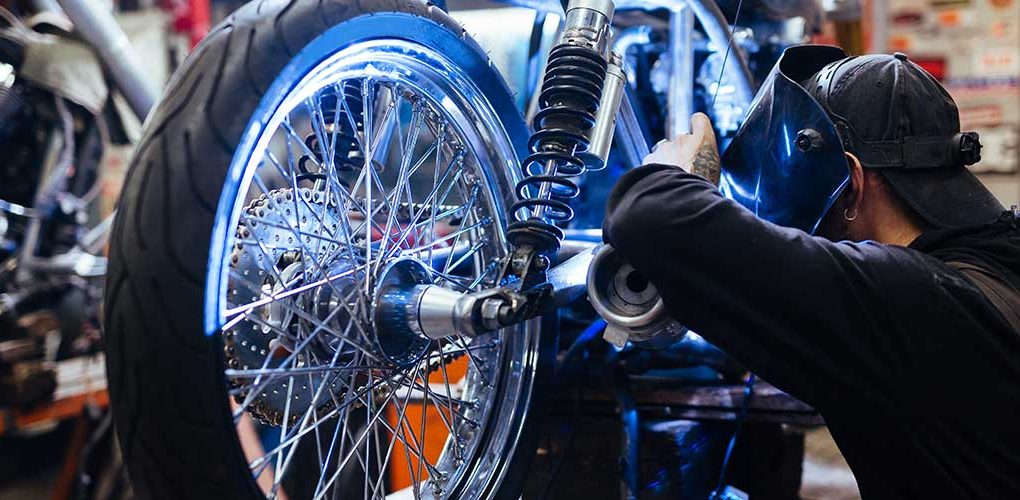
BYD Atto 1 dan Rating Keselamatan Mobil Hybrid
Mobil elektrifikasi kini bukan lagi sekadar tren kota besar. Dalam beberapa tahun terakhir, pasar otomotif Indonesia mulai dipenuhi kendaraan hybrid…

sakit asma: Penyebab, Gejala, dan Cara Mengatasinya
sakit asma menjadi salah satu penyakit pernapasan yang paling sering dialami masyarakat dari berbagai usia. Mulai dari anak-anak hingga orang…

Reza Arap Tetap Membumi di Tengah Deretan Penghargaan? Ini Faktanya!!
Nama Reza Arap sudah lama melekat dalam dunia hiburan digital Indonesia. Sosok yang dikenal lewat konten gaming, musik, hingga podcast…

Chery Omoda 5, SUV Stylish yang Makin Disukai
Mobil SUV kini bukan lagi sekadar kendaraan keluarga dengan bodi besar. Dalam beberapa tahun terakhir, tren SUV bergeser menjadi simbol…

Bunga Iris, Tanaman Cantik yang Gampang Dipelihara
Bunga iris mulai banyak dilirik pecinta tanaman hias karena tampilannya yang elegan sekaligus perawatannya yang tidak ribet. Di tengah tren…

Adidas ZX Series, Sepatu Trendy dengan Bantalan Empuk
Dalam beberapa tahun terakhir, tren sneaker kembali bergerak ke arah desain retro yang dipadukan teknologi modern. Di tengah persaingan sepatu…

Sunrise Gunung Bromo yang Menggetarkan Jiwa
Perjalanan menuju Sunrise Gunung Bromo selalu menghadirkan sensasi yang tidak biasa sejak langkah pertama dimulai. Udara dingin langsung menyentuh kulit…

Pianemo, Surga Sunyi di Timur Indonesia yang Membuat Siapa Pun Enggan Pulang
Pianemo selalu menghadirkan rasa takjub sejak pandangan pertama. Gugusan pulau karst yang berdiri di atas laut biru menciptakan panorama yang…